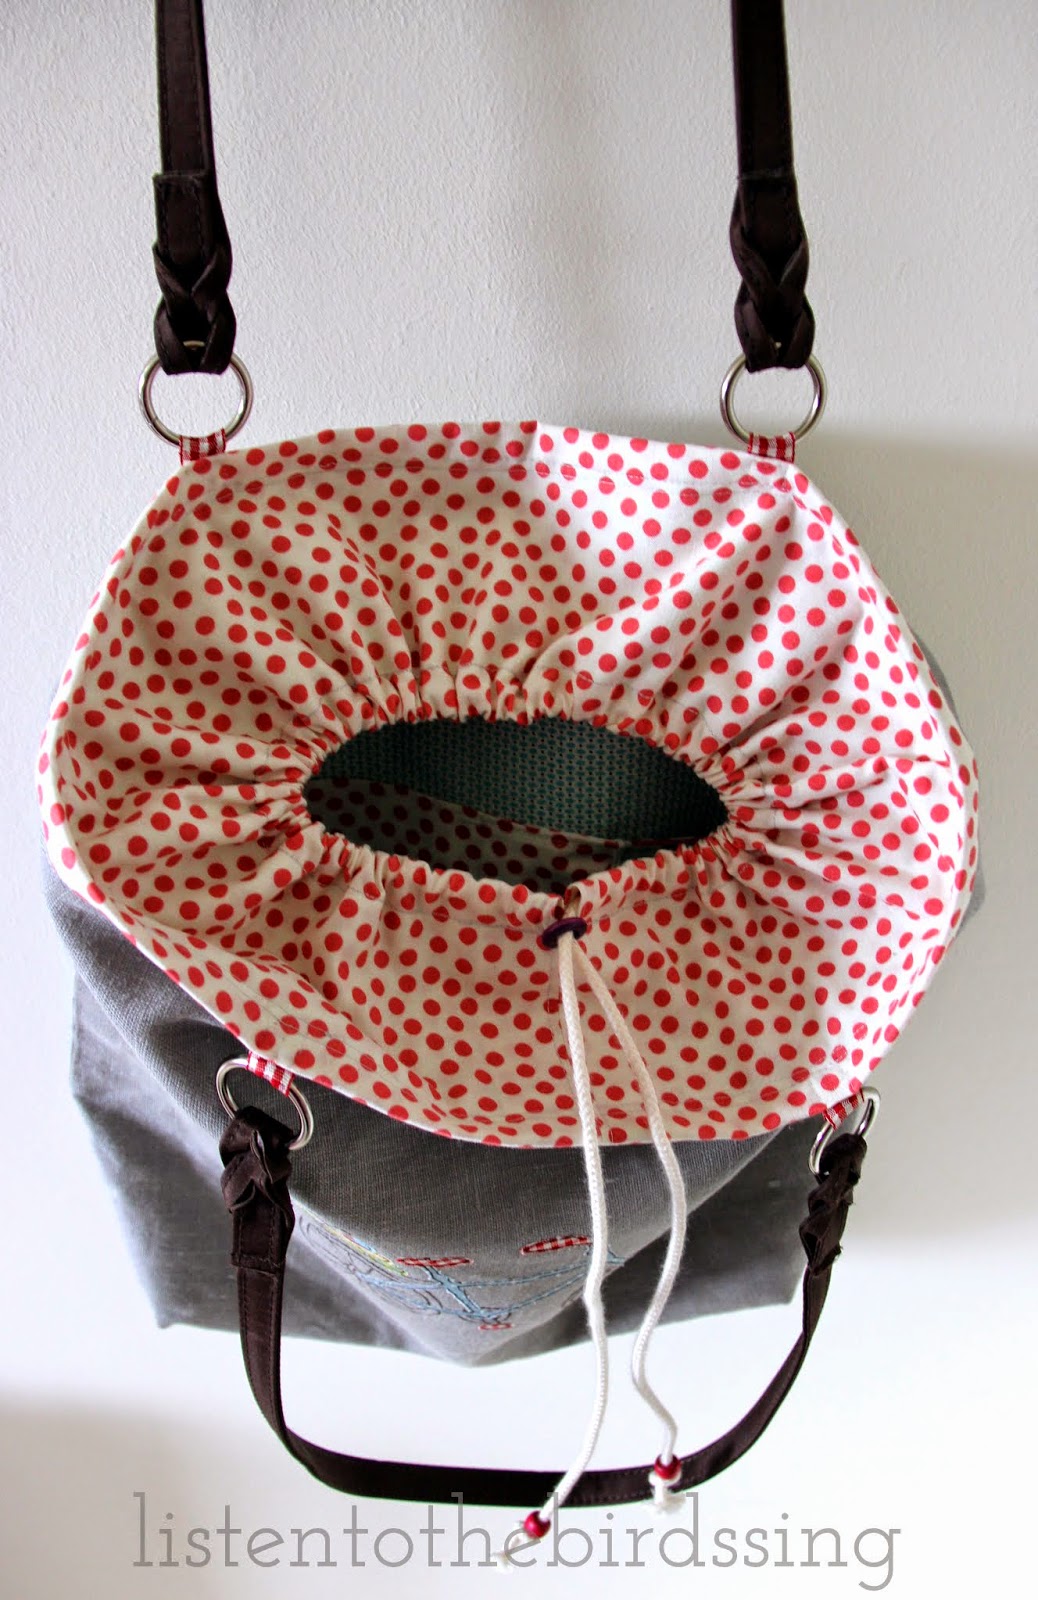
Hello there & welcome to May!
I hope you are enjoying the first days of May. Over here, May has brought a sad day for me & a happy day for my son - his last day of school!! (Isn't it funny how us mummys get so sad when another stage of childhood is gone, but our children can't wait for the next one!)
As the end of school approaches, I thought I should get organised with some teacher appreciation gifts, so I sat down & stitched these the other day
They're reversible too
They are made out of canvas, so they're nice & sturdy for books
Wouldn't it make a nice teacher appreciation gift?
If you fancy making one, here's a tutorial to help you on your way, or if you like you can access a printable version
here

This tutorial will guide you through the process of making basically two bags, joined at the top … one with a notepaper effect and an alternative, so that the bag can be reversed as desired. Heavier weight cotton or canvas would be ideal fabrics. A quicker option would be to use cotton webbing, instead of making straps.
What You Will Need
" 19” X 32” cream/white canvas fabric for the outer bag
" 19” X 32” co-ordinating fabric for the reversible bag
" Usual sewing bits & pieces plus:
red, blue & cream thread
air erasable fabric pen/chalk
When sewing please remember to use ¼” seam allowance throughout (unless otherwise indicated) & backstitch at both ends
STEP 1: Cut your bag pieces
" Cut from your cream fabric:
_ One piece 15½” X 32” for the main bag piece
_ From remainder (or webbing), cut two strips 1¾” X 23” for the straps
" From your lining fabric:
_ One piece 15½” X 32” for the main bag piece lining
_ From remainder, cut two strips 1¾” X 23” for the straps
STEP 2: Making the “notepaper” fabric
" Starting 2½” in from the edge of a long side, mark 7 lines running the length of the fabric, spacing them 1½” apart. You will have a 4” space at the top
" Using blue thread, stitch along these lines. Stop approx. 1/8” from the edge & sew down to the next line (this will help you not have too many threads & the connecting line will be stitched in the seam). You now have some lines on your fabric… next we need a couple of margins…
" Fold the fabric in half lengthwise & draw a line 2½” from the FOLDED side & a line 2¾” from the RAW edge side
" Using your red thread stitch down these two lines twice (just to make the “margin” stand out a bit more)
STEP 3: Making your outer bag
" Fold your “notepaper” fabric in half lengthwise right sides together, being careful to match the blue lines. Stitch down the raw edges using ¼” seam allowance (so that you catch the blue side stitches in the seam) & along the bottom raw edge.
" To make the corners, take the bottom seam & the side seam, & place together to make a triangle. Measure carefully to make sure that the same amount of fabric is on both sides of the seam & iron to keep it nice & flat.
" Measure 2” down from the tip of the triangle & draw a straight line across the fabric (you should have 2” on each side of the seam). Sew on top of the marked line (this should be a total of 4”).
" You can either trim the excess fabric in the corners, or leave is as it is… (I prefer to leave it for the outer bag & trim for the reverse bag).
" Repeat this for the other corner of the bag.
" Well done! You’ve made your outer bag! J
Step 4: Making the reverse bag
" Repeat step 4, but leave a gap of 4” in the bottom seam (which you will use for turning the bag through later).
Step 5: Making the straps (if not using webbing)
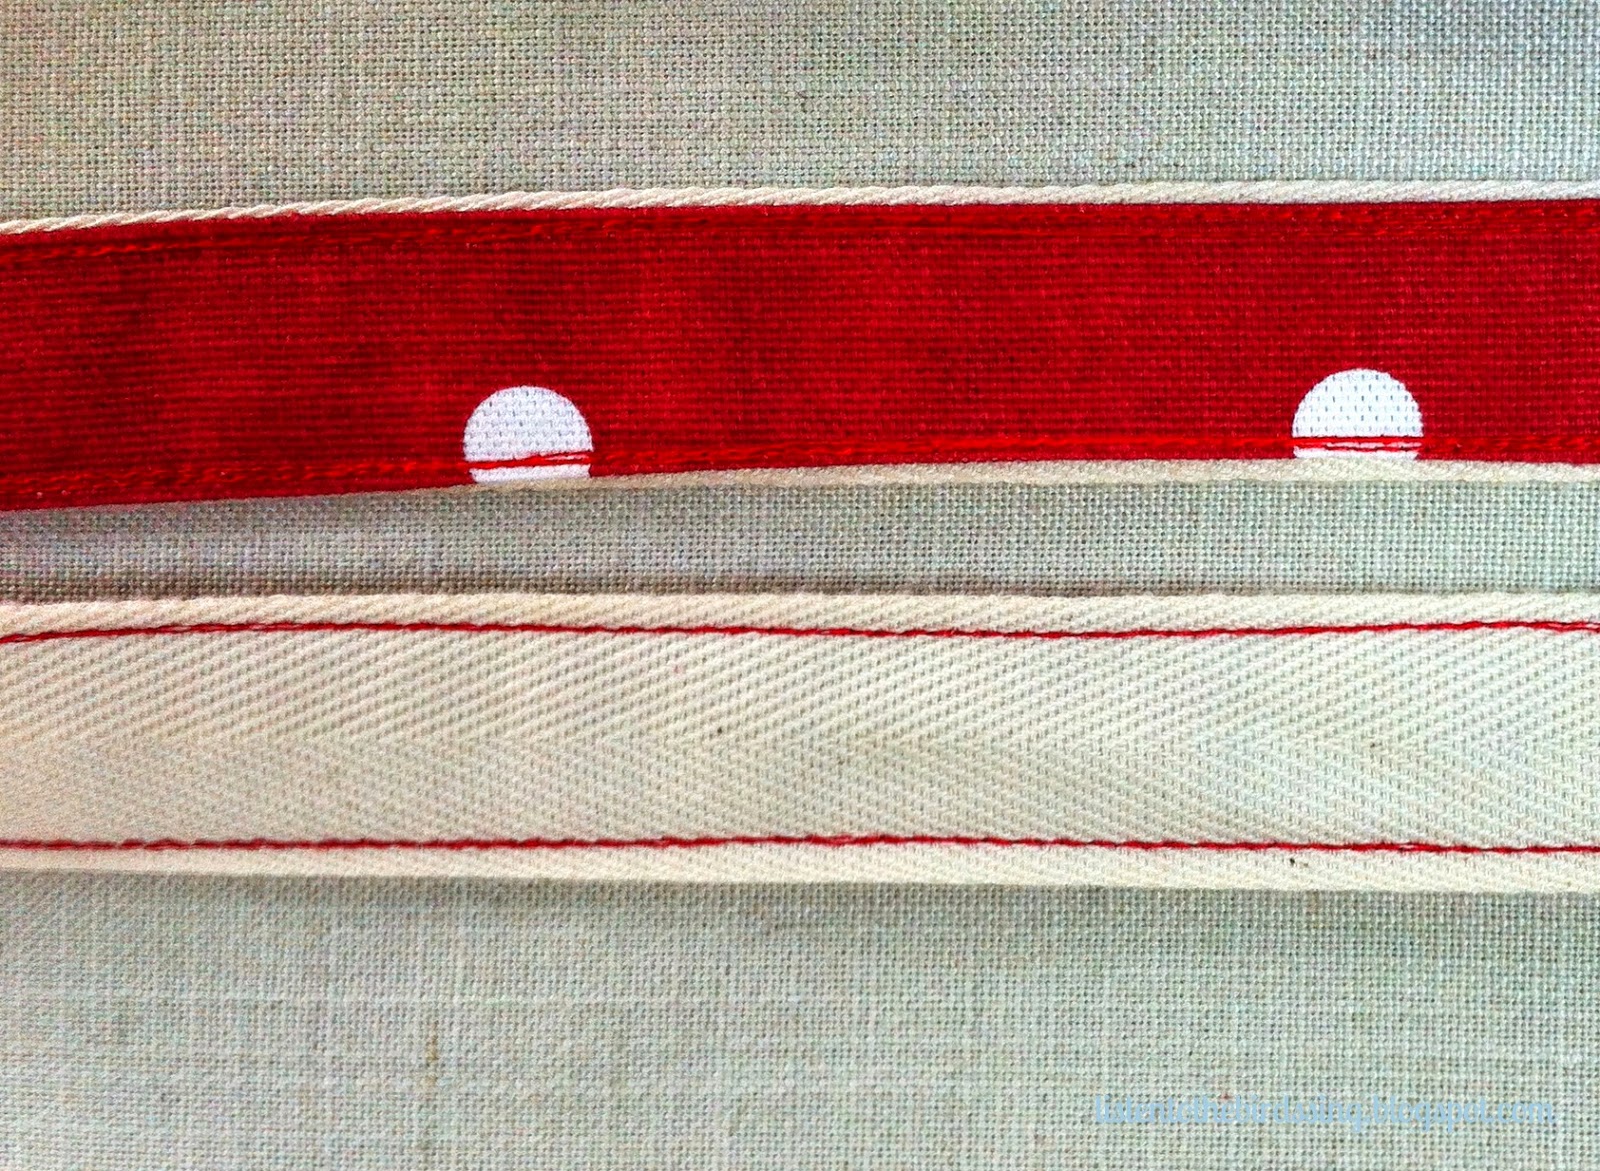
" Take the four fabric strap pieces & fold in half lengthwise wrong sides together. Press along fold
" Open up and fold in ¼” at each side. Press along fold
" Take one lining strap & place an outer strap carefully on top WRONG SIDES together. Pin in place
" Stitch down each side of the strap 1/8” from the edge. Go over stitching row, or down the middle of strap if desired
" Take your reverse bag right side out & fold in half to find the midpoint of the bag
" With right sides together, pin straps to the reverse bag 3” from the midpoint
" Stitch in place with 1/8” seam, go over seam line again to reinforce
Step 6: Putting it all together
" Place bag outer (RIGHT SIDE OUT) inside the reverse bag (WRONG SIDE OUT) & carefully match up, making sure your handles are tucked down out of the way. Stitch all the way around using ¼” seam allowance
" Pull the bag through the gap in the reverse bag & hand-stitch the gap closed using a ladder stitch.
" Push the reverse bag into the outer bag & press.
" Topstitch around the bag edge with 1/8” seam & 1/4” seam.
" Press the bag again & sit back & admire your work!
I hope you have enjoyed this tutorial & have lots of fun with this stitchy schooldays notebook tote.... but please be kind & do not reproduce it without permission. If you make one (or two) I'd love to hear how you get on :)
Take care & have a lovely weekend


