17 November 2014

Winter Nights & Cozy Knits

Hello there!
I hope you are having a lovely November. Here on the North Coast, the skys are becoming darker, the seas become stormy, and the days are shorter as the sun sets in the late afternoon…
I am enjoying long nights by the fireside, knitting cozy hats for my two eldest children who are at university and their friends
Its lovely to make something for them which will keep them warm & let them know they are loved & missed...
This one is for my son, to remind him of the beaches back home...
This one is for my daughter, soft & cozy…
These are for my daughters flat-mates..
And this one… well, I saw it on pinterest & couldn't resist..
If you fancy making some cozy knits, check out some of the free patterns here and here. I think I'll maybe try this one next….
If you have any favourite hat or scarf patterns, I'd love to hear from you & we could share them in the next post.. In the meantime, I hope you have a lovely week & manage to get out & enjoy some November sunshine
Karen

2 November 2014

Back from a blogging break

Hello there & happy first of November!
Its been a wee while since my last post, so please forgive me… I've been out of the blogging world for a few months now I know, but life sometimes overtakes from things like blogging. As a family we've been on a path with lots of unknown twists & turns… But we've had a beautiful autumn here with lots of lovely forest walks…
If you follow me on Pinterest or Instagram you'll know that, despite all the comings & goings, I have been busy making lots of bits & pieces - like these house placemats, which were a house-warming gift to three wee cuties
House placemats
I used Svetlana's great placemat tutorial with a few amendments, which is available here
I've also been busy finishing off this baby quilt, for my gorgeous wee nephew
I used Mary's triangle quilt tutorial, which you can see here I hand stitched round each triangle with hand-quilting thread & added a few embroidery Xs too
As the triangles were quite small, for the back I pieced larger bits together, for a more scrappy, improv look
As the winter nights draw in I've been busy with my knitting needles too - this hat reminds me of the pebbles on the beaches near our home
I hope you have a great weekend - stitching, knitting - or just enjoying the winter sunshine & I'll be back soon with some more stitchy loveliness
Take care
Karen


7 June 2014

Behind the blog giveaway

Hello there!
I hope you are having a lovely June... It's hard to believe we are nearly half way through the month already. I've missed blogging the past couple of weeks, but things have been pretty hectic over here with lots of family comings & goings, a quick hop, skip & a jump across the pond to Kansas, school exams for the kids, running sewing workshops & (drum roll please!!!) OPENING MY ETSY SHOP.... Yes, I've finally plucked up the courage, taken the plunge & BirdsongStitches is now finally trading!!


I'll be stocking things in the shop that I love to make, like this bunting
Or this cushion cover
To celebrate, I thought we could have a giveaway... So, here is what you could win...
A lovely stash of 10 fat eighths of Denyse Schmidt fabrics which I bought on my last wee visit to America. I don't think they are available over here & they really are very pretty. They are from her new Piccadilly, and Bakersfield and Union Station collections
To enter the giveaway I would love for you to have a wee look at the shop by clicking here & telling me what you like, or what you think I should stock, or any tips or advice you have for selling on etsy. If you are a follower of the blog, or you follow me on Pinterest or Instagram, do please let me know for another chance to win. The giveaway will close on Friday 13th June at midnight & I'll announce the winner on Saturday 14th..
So good luck & I hope you all have a lovely, creative weekend
Karen x


9 May 2014

My Giro d'Italia Inspired Tote

Hello there
I hope you are having a good week. Here on the Causeway Coast there are great preparations afoot for the Giro d'Italia (which, believe it or not, is the worlds second largest cycle race) which starts here tomorrow. The route will pass about half a mile from our house & will follow the coastline through Northern Ireland
Inspired by all the cyclists & bikes appearing everywhere, I sat down & stitched this....
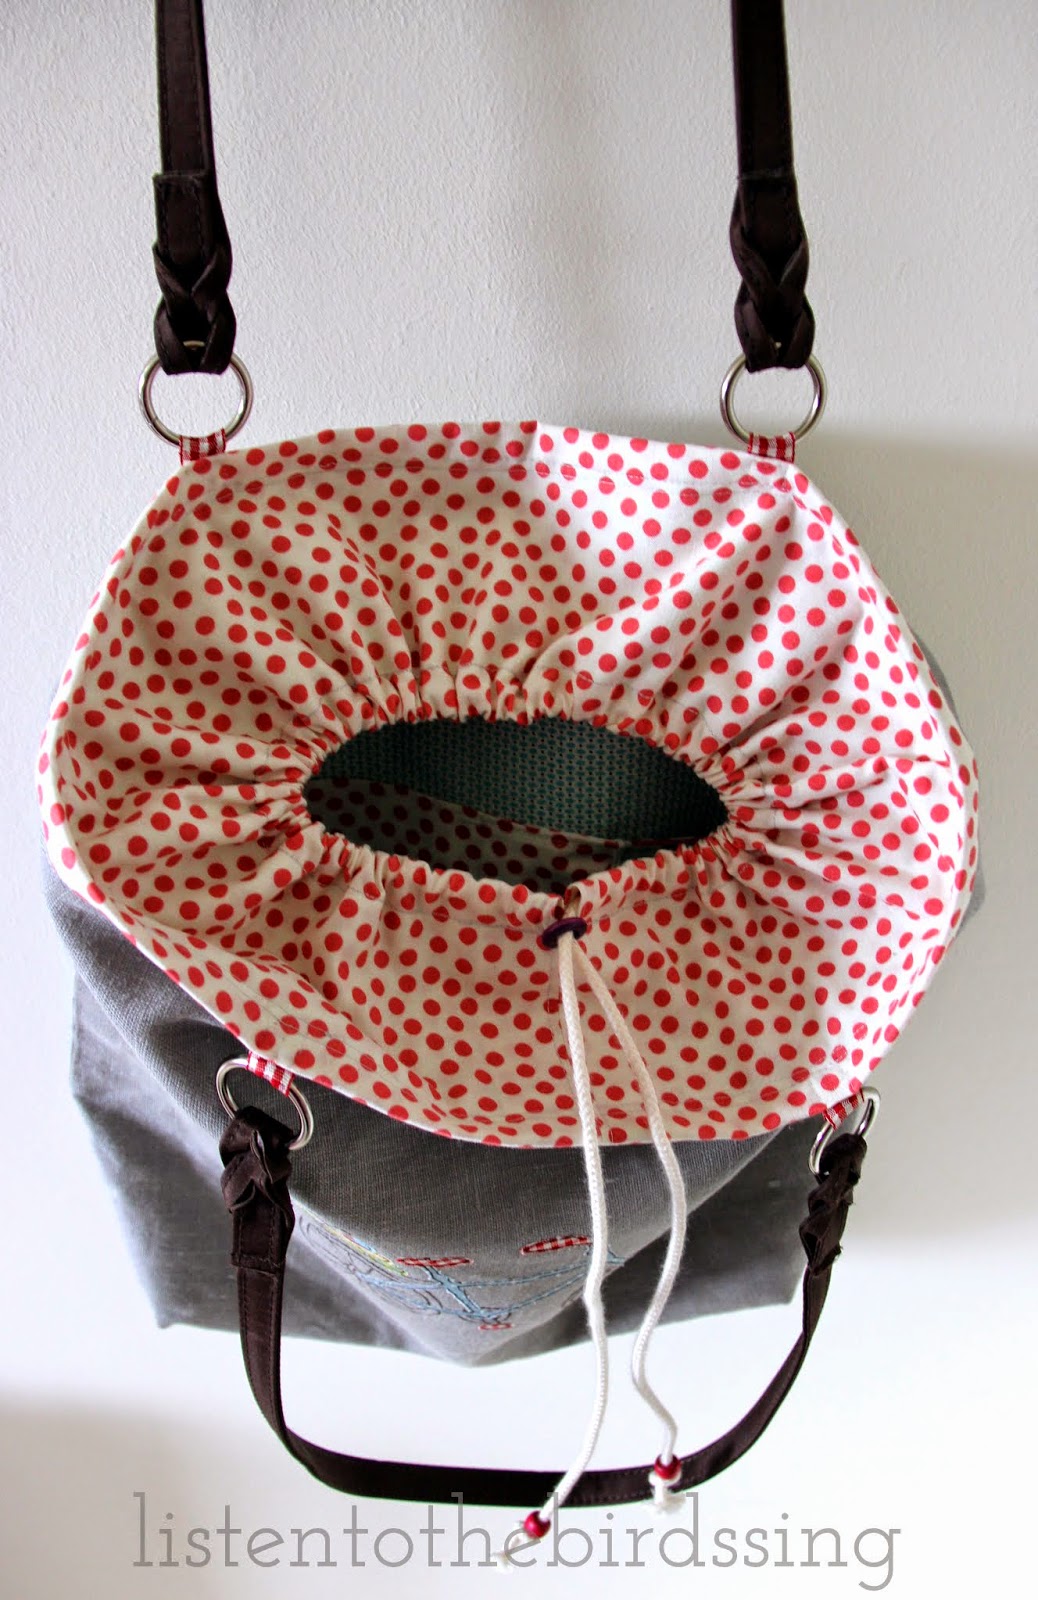
I used some lovely grey linen & wee scraps for the applique.The bag has a drawstring closure & plenty of room inside for lots of bits & pieces
I love the coral & blue fabrics with the grey linen. I used an air-erasable marker to just draw the bike outline onto the linen & then I stitched over it using brown thread, adding a wee bit of applique for the bike and the books. 
listentothebirdssing
I'm off now to get ready for the race (viewing I hasten to add!!!) - good luck to all of you cyclists, especially my wee brother!
Whether you're doing something sporty, or something more relaxing, I hope you have a lovely weekend & I'll be back next week with something special I've been planning for you :)
Enjoy the ride!
Karen x

3 May 2014

Bagalicious: Schooldays Notebook Tote Tutorial

Hello there & welcome to May!
I hope you are enjoying the first days of May. Over here, May has brought a sad day for me & a happy day for my son - his last day of school!! (Isn't it funny how us mummys get so sad when another stage of childhood is gone, but our children can't wait for the next one!)
As the end of school approaches, I thought I should get organised with some teacher appreciation gifts, so I sat down & stitched these the other day
They're reversible too
They are made out of canvas, so they're nice & sturdy for books
  
Wouldn't it make a nice teacher appreciation gift?

If you fancy making one, here's a tutorial to help you on your way, or if you like you can access a printable version here

listen to the birds sing

This tutorial will guide you through the process of making basically two bags, joined at the top one with a notepaper effect and an alternative, so that the bag can be reversed as desired. Heavier weight cotton or canvas would be ideal fabrics. A quicker option would be to use cotton webbing, instead of making straps.
 What You Will Need             
" 19” X 32” cream/white canvas fabric for the outer bag
" 19” X 32” co-ordinating fabric for the reversible bag
" Usual sewing bits & pieces plus:
red, blue & cream thread
air erasable fabric pen/chalk               

When sewing please remember to use ¼ seam allowance throughout (unless otherwise indicated) & backstitch at both ends                                        
STEP 1: Cut your bag pieces
" Cut from your cream fabric:
_    One piece 15½” X 32” for the main bag piece
_    From remainder (or webbing), cut two strips 1¾” X 23 for the straps
" From your lining fabric:
_    One piece 15½” X 32” for the main bag piece lining
_    From remainder, cut two strips 1¾” X 23 for the straps
 

STEP 2: Making the “notepaper” fabric
" Starting 2½” in from the edge of a long side, mark 7 lines running the length of the fabric, spacing them 1½” apart. You will have a 4” space at the top
" Using blue thread, stitch along these lines. Stop approx. 1/8” from the edge & sew down to the next line (this will help you not have too many threads & the connecting line will be stitched in the seam). You now have some lines on your fabric… next we need a couple of margins…
" Fold the fabric in half lengthwise & draw a line 2½ from the FOLDED side & a line 2¾ from the RAW edge side
" Using your red thread stitch down these two lines twice (just to make the “margin” stand out a bit more)
STEP 3: Making your outer bag
" Fold your “notepaper” fabric in half lengthwise right sides together, being careful to match the blue lines. Stitch down the raw edges using ¼” seam allowance (so that you catch the blue side stitches in the seam) & along the bottom raw edge.
" To make the corners, take the bottom seam & the side seam, & place together to make a triangle. Measure carefully to make sure that the same amount of fabric is on both sides of the seam & iron to keep it nice & flat.
" Measure 2” down from the tip of the triangle & draw a straight line across the fabric (you should have 2” on each side of the seam). Sew on top of the marked line (this should be a total of 4”).
" You can either trim the excess fabric in the corners, or leave is as it is… (I prefer to leave it for the outer bag & trim for the reverse bag).
" Repeat this for the other corner of the bag.
" Well done! You’ve made your outer bag! J
 Step 4: Making the reverse bag
" Repeat step 4, but leave a gap of 4in the bottom seam (which you will use for turning the bag through later)
Step 5: Making the straps (if not using webbing)
" Take the four fabric strap pieces & fold in half lengthwise wrong sides together. Press along fold
" Open up and fold in ¼” at each side. Press along fold
" Take one lining strap & place an outer strap carefully on top WRONG SIDES together. Pin in place
" Stitch down each side of the strap 1/8” from the edge. Go over stitching row, or down the middle of strap if desired
" Take your reverse bag right side out & fold in half to find the midpoint of the bag
" With right sides together, pin straps to the reverse bag 3” from the midpoint
" Stitch in place with 1/8” seam, go over seam line again to reinforce

Step 6: Putting it all together
" Place bag outer (RIGHT SIDE OUT) inside the reverse bag (WRONG SIDE OUT) & carefully match up, making sure your handles are tucked down out of the way. Stitch all the way around using ¼” seam allowance
" Pull the bag through the gap in the reverse bag & hand-stitch the gap closed using a ladder stitch.
" Push the reverse bag into the outer bag & press.
" Topstitch around the bag edge with 1/8” seam & 1/4” seam.
" Press the bag again & sit back & admire your work!
  
I hope you have enjoyed this tutorial & have lots of fun with this stitchy schooldays notebook tote.... but please be kind & do not reproduce it without permission. If you make one (or two) I'd love to hear how you get on :)
Take care & have a lovely weekend

Karen

25 April 2014

Tablemats for toddlers

Hello there!
I hope you are having a lovely Easter. Over here we've been enjoying lots of family comings & goings.... and special guests deserve special gifts - so the other day I made these placemats for two precious wee guests who were coming for tea
I made them out of raw linen for the front, insul-brite wadding & some spotty linen/cotton blend for the back
The sun was shining, so I sat outside (not normally something you can do in Ireland in April!!!) to stitch in some wee details
I may have got slightly carried away....
....but they were such fun to make

Hopefully they will make mealtimes fun for Evie & Jude.. .


I hope you enjoy the rest of your Easter, whether its inside or out, with family or friends, or just doing something special for you....
Love
Karen x

15 April 2014

Bagilicious: the 241 tote

Hello there!
Thank you so much for the lovely comments on the last post. Its great to be back!
Its wonderful to see lots of bunny pouches springing up all over the place! They are super quick & easy to make, so you've still got time to make one before Easter... just click here to go straight to the tutorial. If you do make any, do let me know & I'll post some of your pictures on Sunday.
One thing I make a lot of is bags... & its funny to see how many of you share the same obsession :) 
So, for the next couple of weeks I'm going to show you some of the bags I've been making & let you know how you can too...
First up is the extremely talented Anna from noodlehead. I've been following Anna for about 5 years now & I love her blog which is full of inspiration, tutorials & patterns. Her wee lil cutie pouches were one of the first zipper pouch tutorials I tried & I've been hooked ever since! I noticed a lot of 241 totes appearing all over the place - like this gorgeous one from Leila (wheretheorchidsgrow)
Source: Leila at wheretheorchidsgrow
So here was my first one:
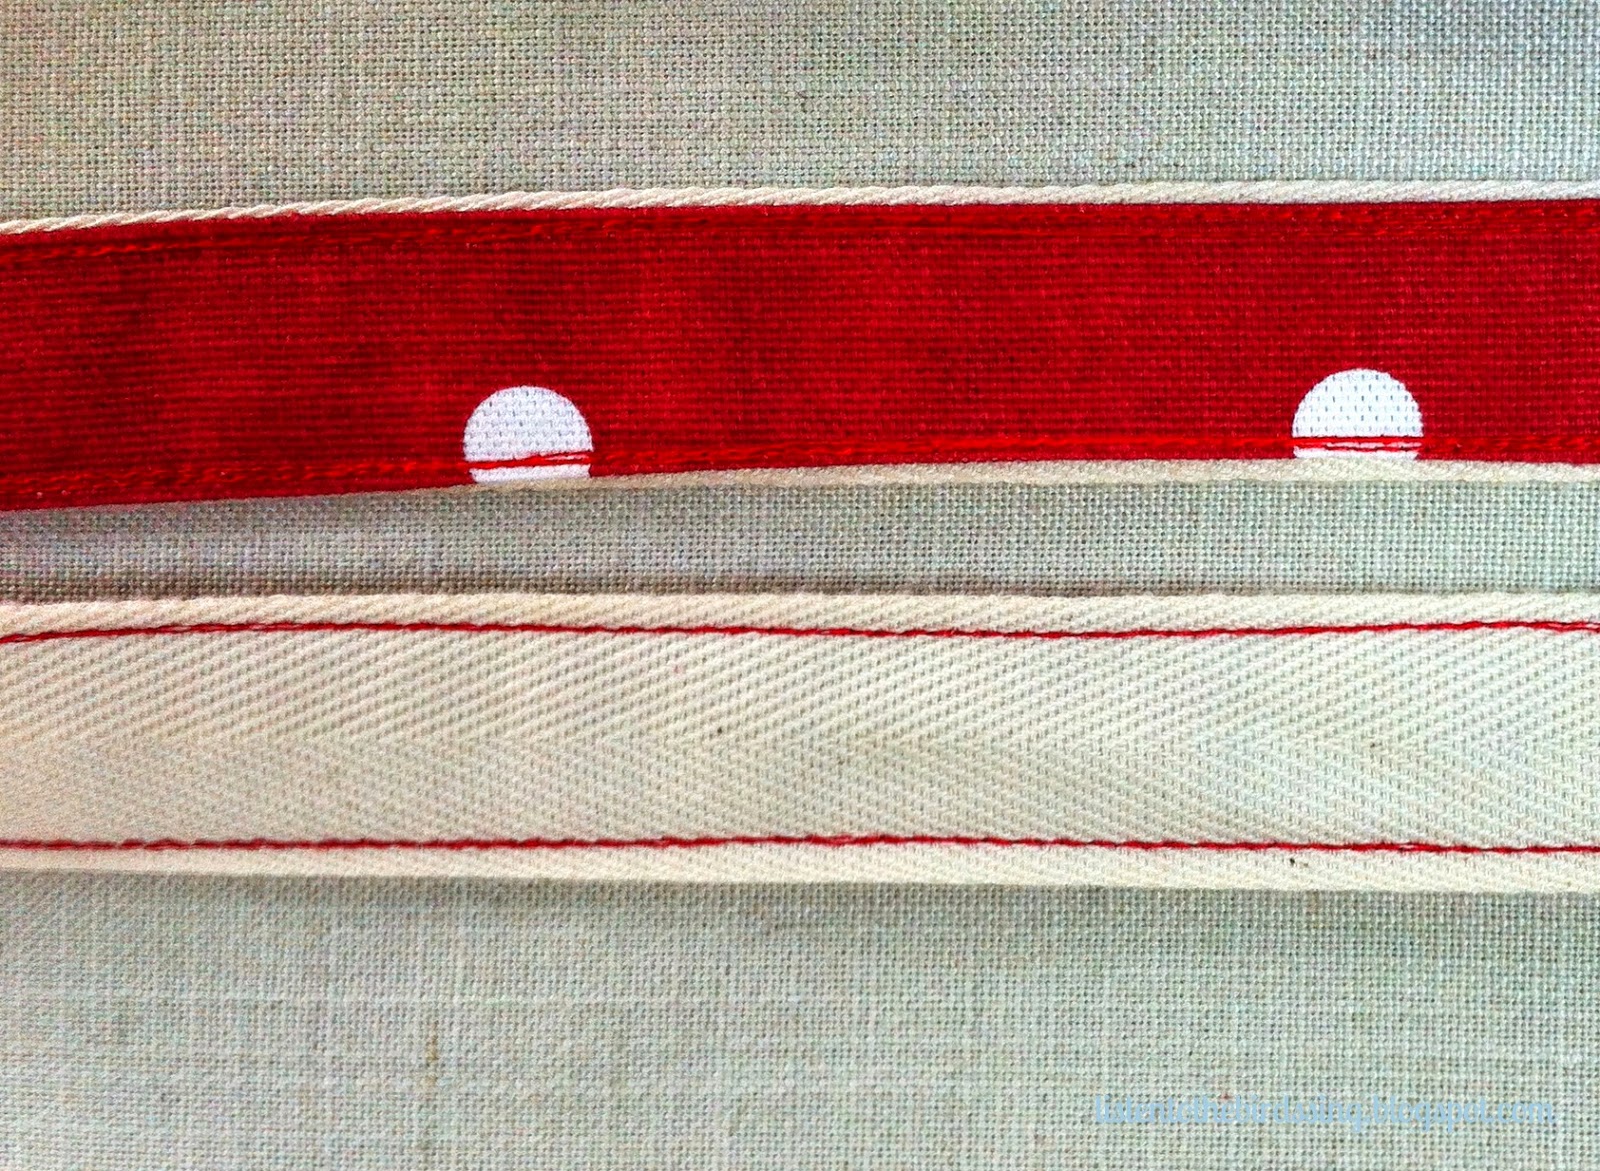
The pattern was easy to follow & I love the scrappy look of each of the sections. I made a couple of alterations - for the straps I stitched a second layer of fabric onto the webbing, just to give them a bit more structure & I added a wee key chain on the inside
I had such fun making one, I made another, this time with a zip
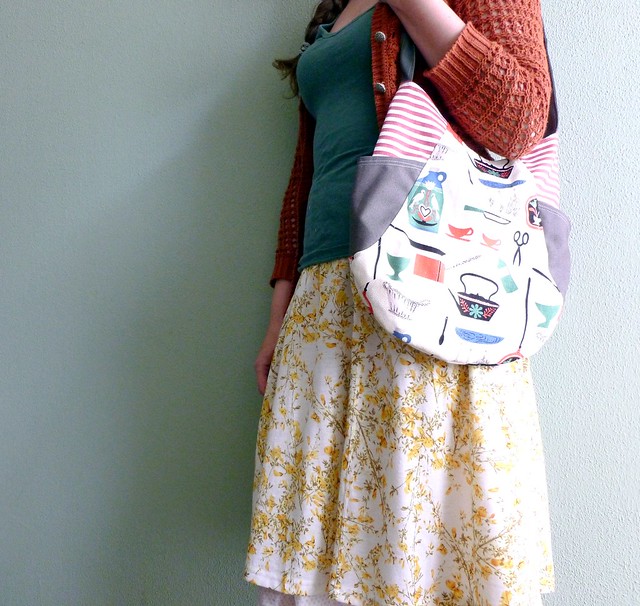
It's such a great bag for the summer - perfect for shopping or the beach.... with lots of room & pockets to keep your stuff safe. If you fancy making one yourself, the pattern is available here
I'm off now to take my life in my hands... visiting a theme park with the children!! But I'll be back on Sunday with some bunny pouches & another bag review, so I'll see you then
In the meantime, try to take time to listen to those birds singing!
Love
Karen x